|
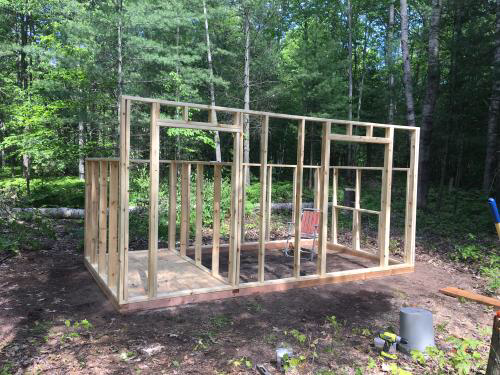
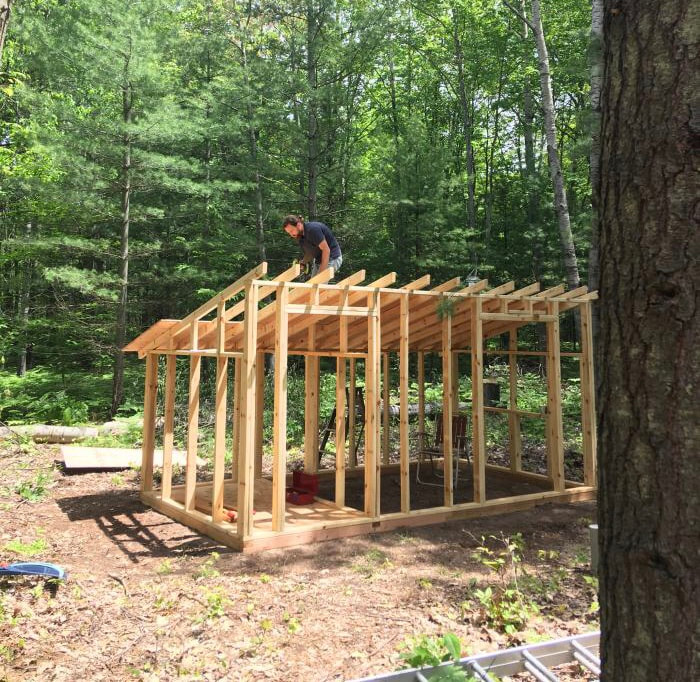
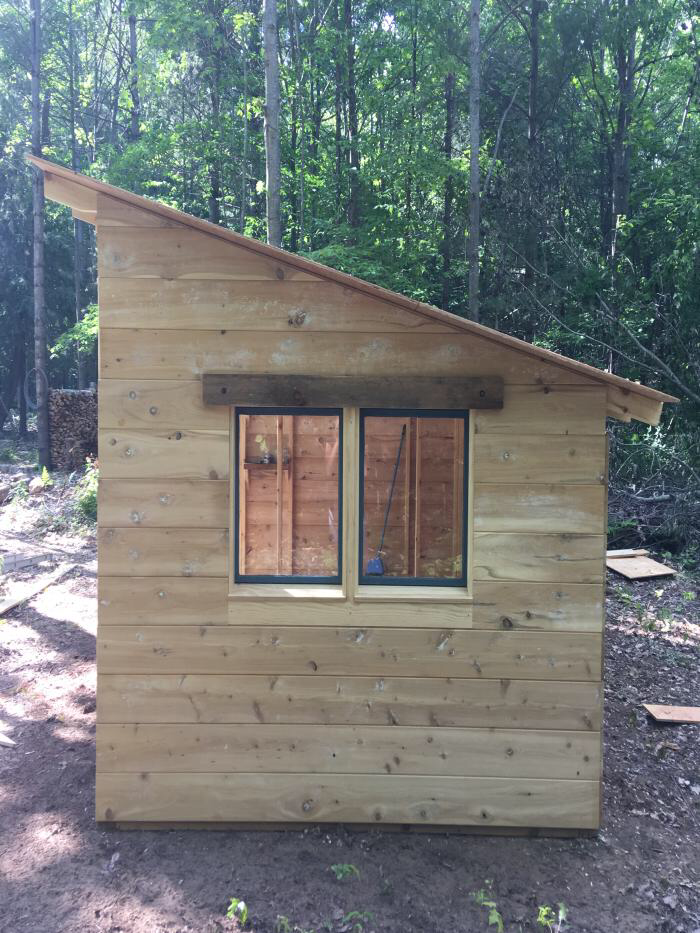
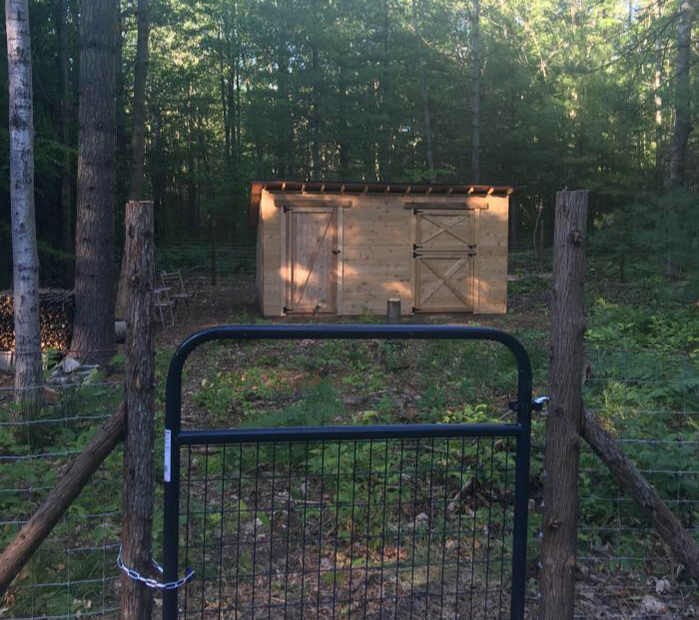
11/4/2020 How to Build a Barn Barn in 2 DaysStep 1: Spend several nights scrolling through the many beautiful (and not-so-beautiful) designs for mini-barns, run-ins, and sheds online. Step 2: Pick the one that says if all materials are handy, it can be build in 2 days. Think to yourself, well, that seems manageable for two people with no building experience. Also, it's free. I think maybe it was an Instructable... Step 3: Round up the needed materials through Craigslist and local hardware stores. Use the little knowledge you have of building things to modify said free plan... at this point, it is important to still have every confidence this will be easy and you will succeed. Step 4: Begin by chiseling the joints in the 4x4 cedar footers. Or are they sill plates? Anyway, these are the pieces that will make up the skids that are the foundation of the building. Sounds important. Oh, and you need these skids to sit on perfectly level ground. Well, you chisel while I shovel dirt and level the ground. By hand. There goes day one. Step 5: Place the cedar footers in place where you levelled the ground. Realize you didn't level it as well as you thought. Spend the rest of day two levelling the foundation. Step 6: Now you are ready to BUILD! Screw together the frame in your driveway. Realize you now have to walk heavy, unwieldy wall frame pieces back to your prepared foundation... also realize this is going to take waaay longer than two days. Step 7: Hoist the frame up and screw into position. Is hoist the correct technical term here? Enjoy the fact that it actually looks like something. Step 8: Do a bunch of fancy math plus trial and error to figure out how to cut the rafters(this information is not included in the free plans). How many days have we been at this now? 6 days. Right. Step 9: Finally cut all the rafters and get them up. Cut plywood for the roof. Wonder why plywood comes in difficult-to-maneuver 4x8 foot pieces. Screw into place. Step 10: Drink copious amounts of beer(not pictured) and wonder when this will be done. It has for sure been longer than 2 days. Step 11: Focus. Begin to measure and cut the tongue and groove siding. Wonder how many nails should be used for each 8 ft. Length. Two? Five? How do people know these things? This was also not included in the free internet plans. Begin to seriously doubt said plans. Have another drink. Step 12: Do an internet search for “how to frame a window.” With the how-to page pulled up and your can’t-turn-back-now attitudes, frame those blue $8 windows you got at the resale store. Enjoy that it really looks like something! Try to forget that you have been working on this for 13 days and the end is NOT near... Step 13: Finish the siding, still uncertain about how many nails you need exactly. Err on the side of too many nails for, you know, structural stability or something. Drink a beer. Step 14: Do more fancy math to figure out how to make cuts for the door. Make a door. Actually, make 3 doors. Wonder how you hang these heavy wooden beasts. Curse. Take your 38th trip to the hardware store so you can buy hinges to hang the doors. Doors were definitely not included in the plans. Step 15: Hang the door. Admire your handiwork. It looks like a door. Not just a door, but a barn door. YAY! Hang the other doors. Step 16: Realize the shingles you were “gifted” were gifted to you for a reason... go back to the hardware store for shingles. And roofing paper. And roofing nails. And fascia. Wonder what is a fascia and why do I need it? Grimly think about the plans and how none of this was included. Make a mental note to burn said plans. Step 17: Call in reinforcements(Todd’s dad) to help roof and put in 300 feet of fence. Step 18: Exactly one month after you began, step back behind the new fence and enjoy the fact that you have a new barn! Now, fill it up with goats. ~ Amanda
Note: This barn was built in June 2019. |
AuthorWhen she's not baking bread Amanda enjoys going for walks with her girls and making goats milk ice cream. Archives
March 2022
Categories |


 RSS Feed